
Are you a .NET dev who wants to avoid JavaScript? Has your client asked you to work on a front end? Then today's topic may be just the thing for you...

Blazor is a framework that allows all interactive logic of a web application (front end + back end) to be coded in C#.
It is an open source ASP.NET Core framework, leveraging WebAssembly to work as an alternative to the common JS + AJAX / Websockets server (ASP.NET Core, Express etc..) stack. It has found some level of popularirty in enterprise applications.
The concept of creating a framework to allow experiened C# developers to transfer their skills to front end websites, calls back 20 years, to when Microsfot introduced ASP.NET Webforms - allowing a generation of WinForms developers to quickly develop websites.
In the code below;
<h1>Counter</h1>

<p>Count: @count</p>

<button @onclick="Increment">
    Increment</button>

@code
{
    private int count = 0;

    private void Increment()
    {
        count++;
    }
}
Now that you have read a little about what Blazor is, and viewed some simple example code - lets get started!
First make sure you have the .NET 8 SDK downloaded and installed from https://dotnet.microsoft.com/en-us/download/dotnet/8.0

Go to the folder you want the new solution created in, and then in your terminal (command line in Windows), run the following;
dotnet new blazor -o BlazorBlogExample1 - int Auto
NOTE - Running the above command (rather then using Visual Studio, VSCode or Rider to create a new project) ensures the project is created correctly.
Rider currently does not create the *.Client project needed when wanting to use the WebAssembly modes.
A solution is created, with 2 projects;
The solution with the two projects structure is shown below;
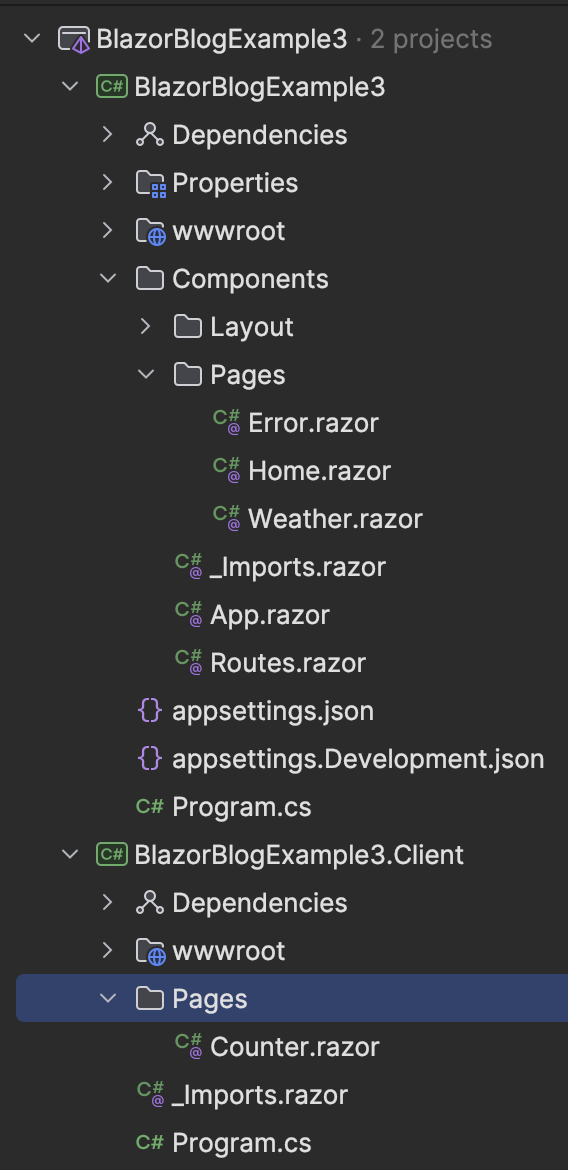
Inside the Components and Pages folders are what are known as 'Razor components'.
Some notes about Razor components;
Outside of the Razor Components, inside the wwwroot folder, bootstrap css is included, as well as an entry point to the app in the form of Program.cs.
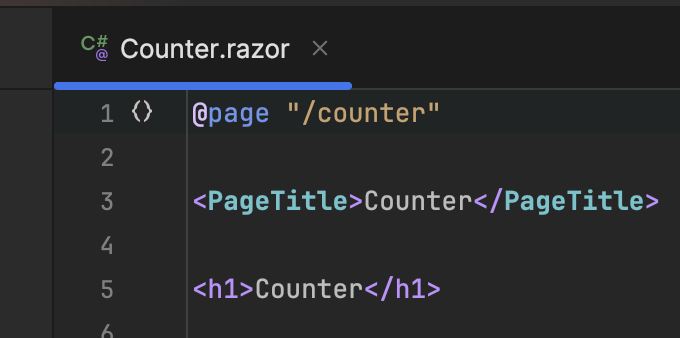
Here is the source code of the counter page;
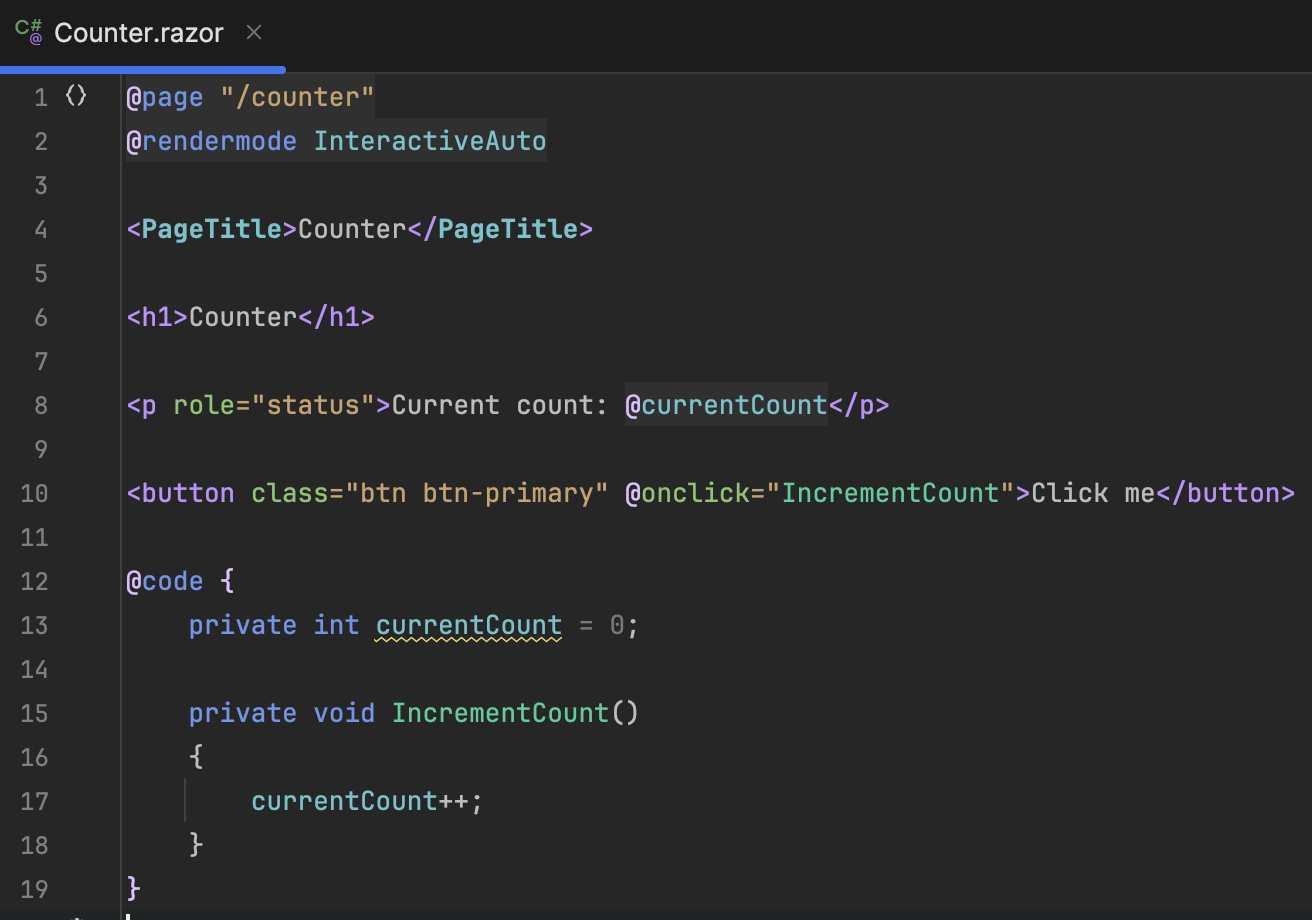
Notice the rendermode on the second line (set to InteractiveAuto).
Here is a rundown of the types that can be used;
In this mode, the logic code gets downloaded and is rendered purely in the browser via WebAssembly.
The browser downloads the .NET library and the app user code, and then runs them interactively.
This mode can be thought of as an alternative to tradional client-side JavaScript, where instead of JS, the browser is running C# code.
With server rendering, the server is doing the heavy lifting, and the WebAssembly is purely used for HTTP communications.
Rendered on the server, HTML is sent to the client.
There is no interactivity - this ends up working very much like a tradional ASP.NET website.
Rendered on the server but with SignalR (WebSockets) pushing interactive changes to and from the server.
An optimised mix of interactive server and interactive WebAssembly. It will initially render server side, and then the .NET and app user code are downloaded to the browser. For interactivity the client side WebAssembly mode will be used if available (and if they can be downloaded quickly) - else it will use the server side model.
In truth, the automatic mode is a little more complicated then the simplification above. If you want to learn more about it, read 'Automatic (Auto) rendering' on https://learn.microsoft.com/en-us/aspnet/core/blazor/components/render-modes?view=aspnetcore-8.0
All the above rendering modes are set at a component level.
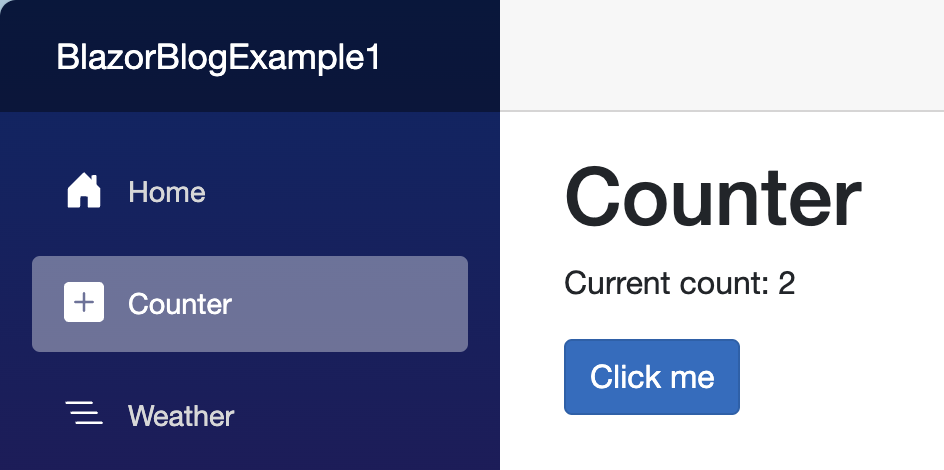
Run the project in your IDE (make sure it is starting the main project and not the *.Client one).
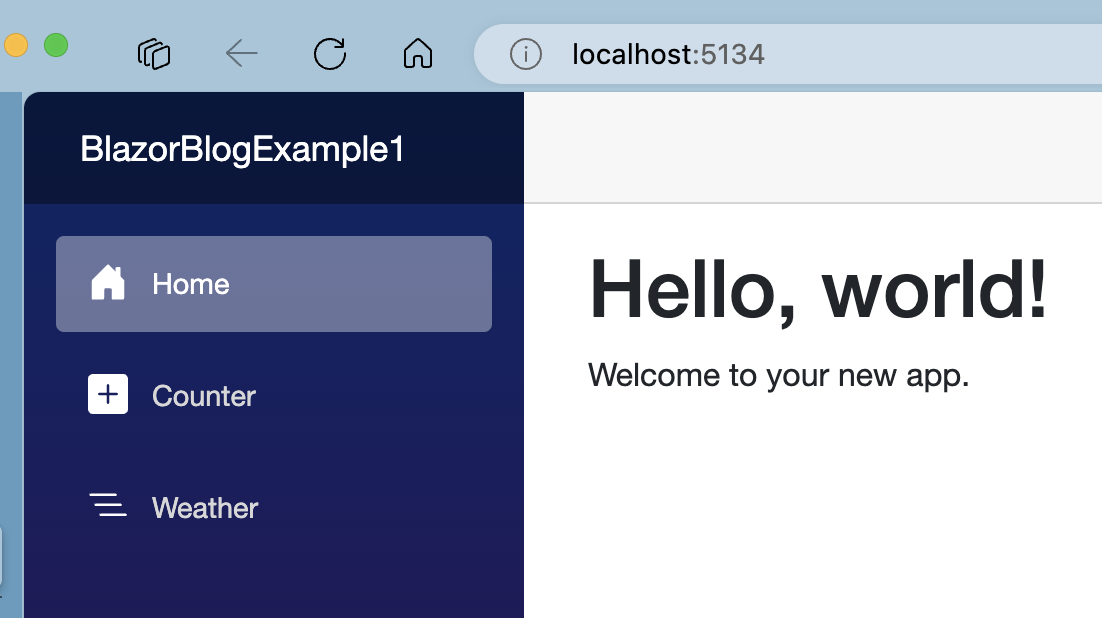
Clicking the 'Counter' link on the left hand side navigation will take you to the counter page.
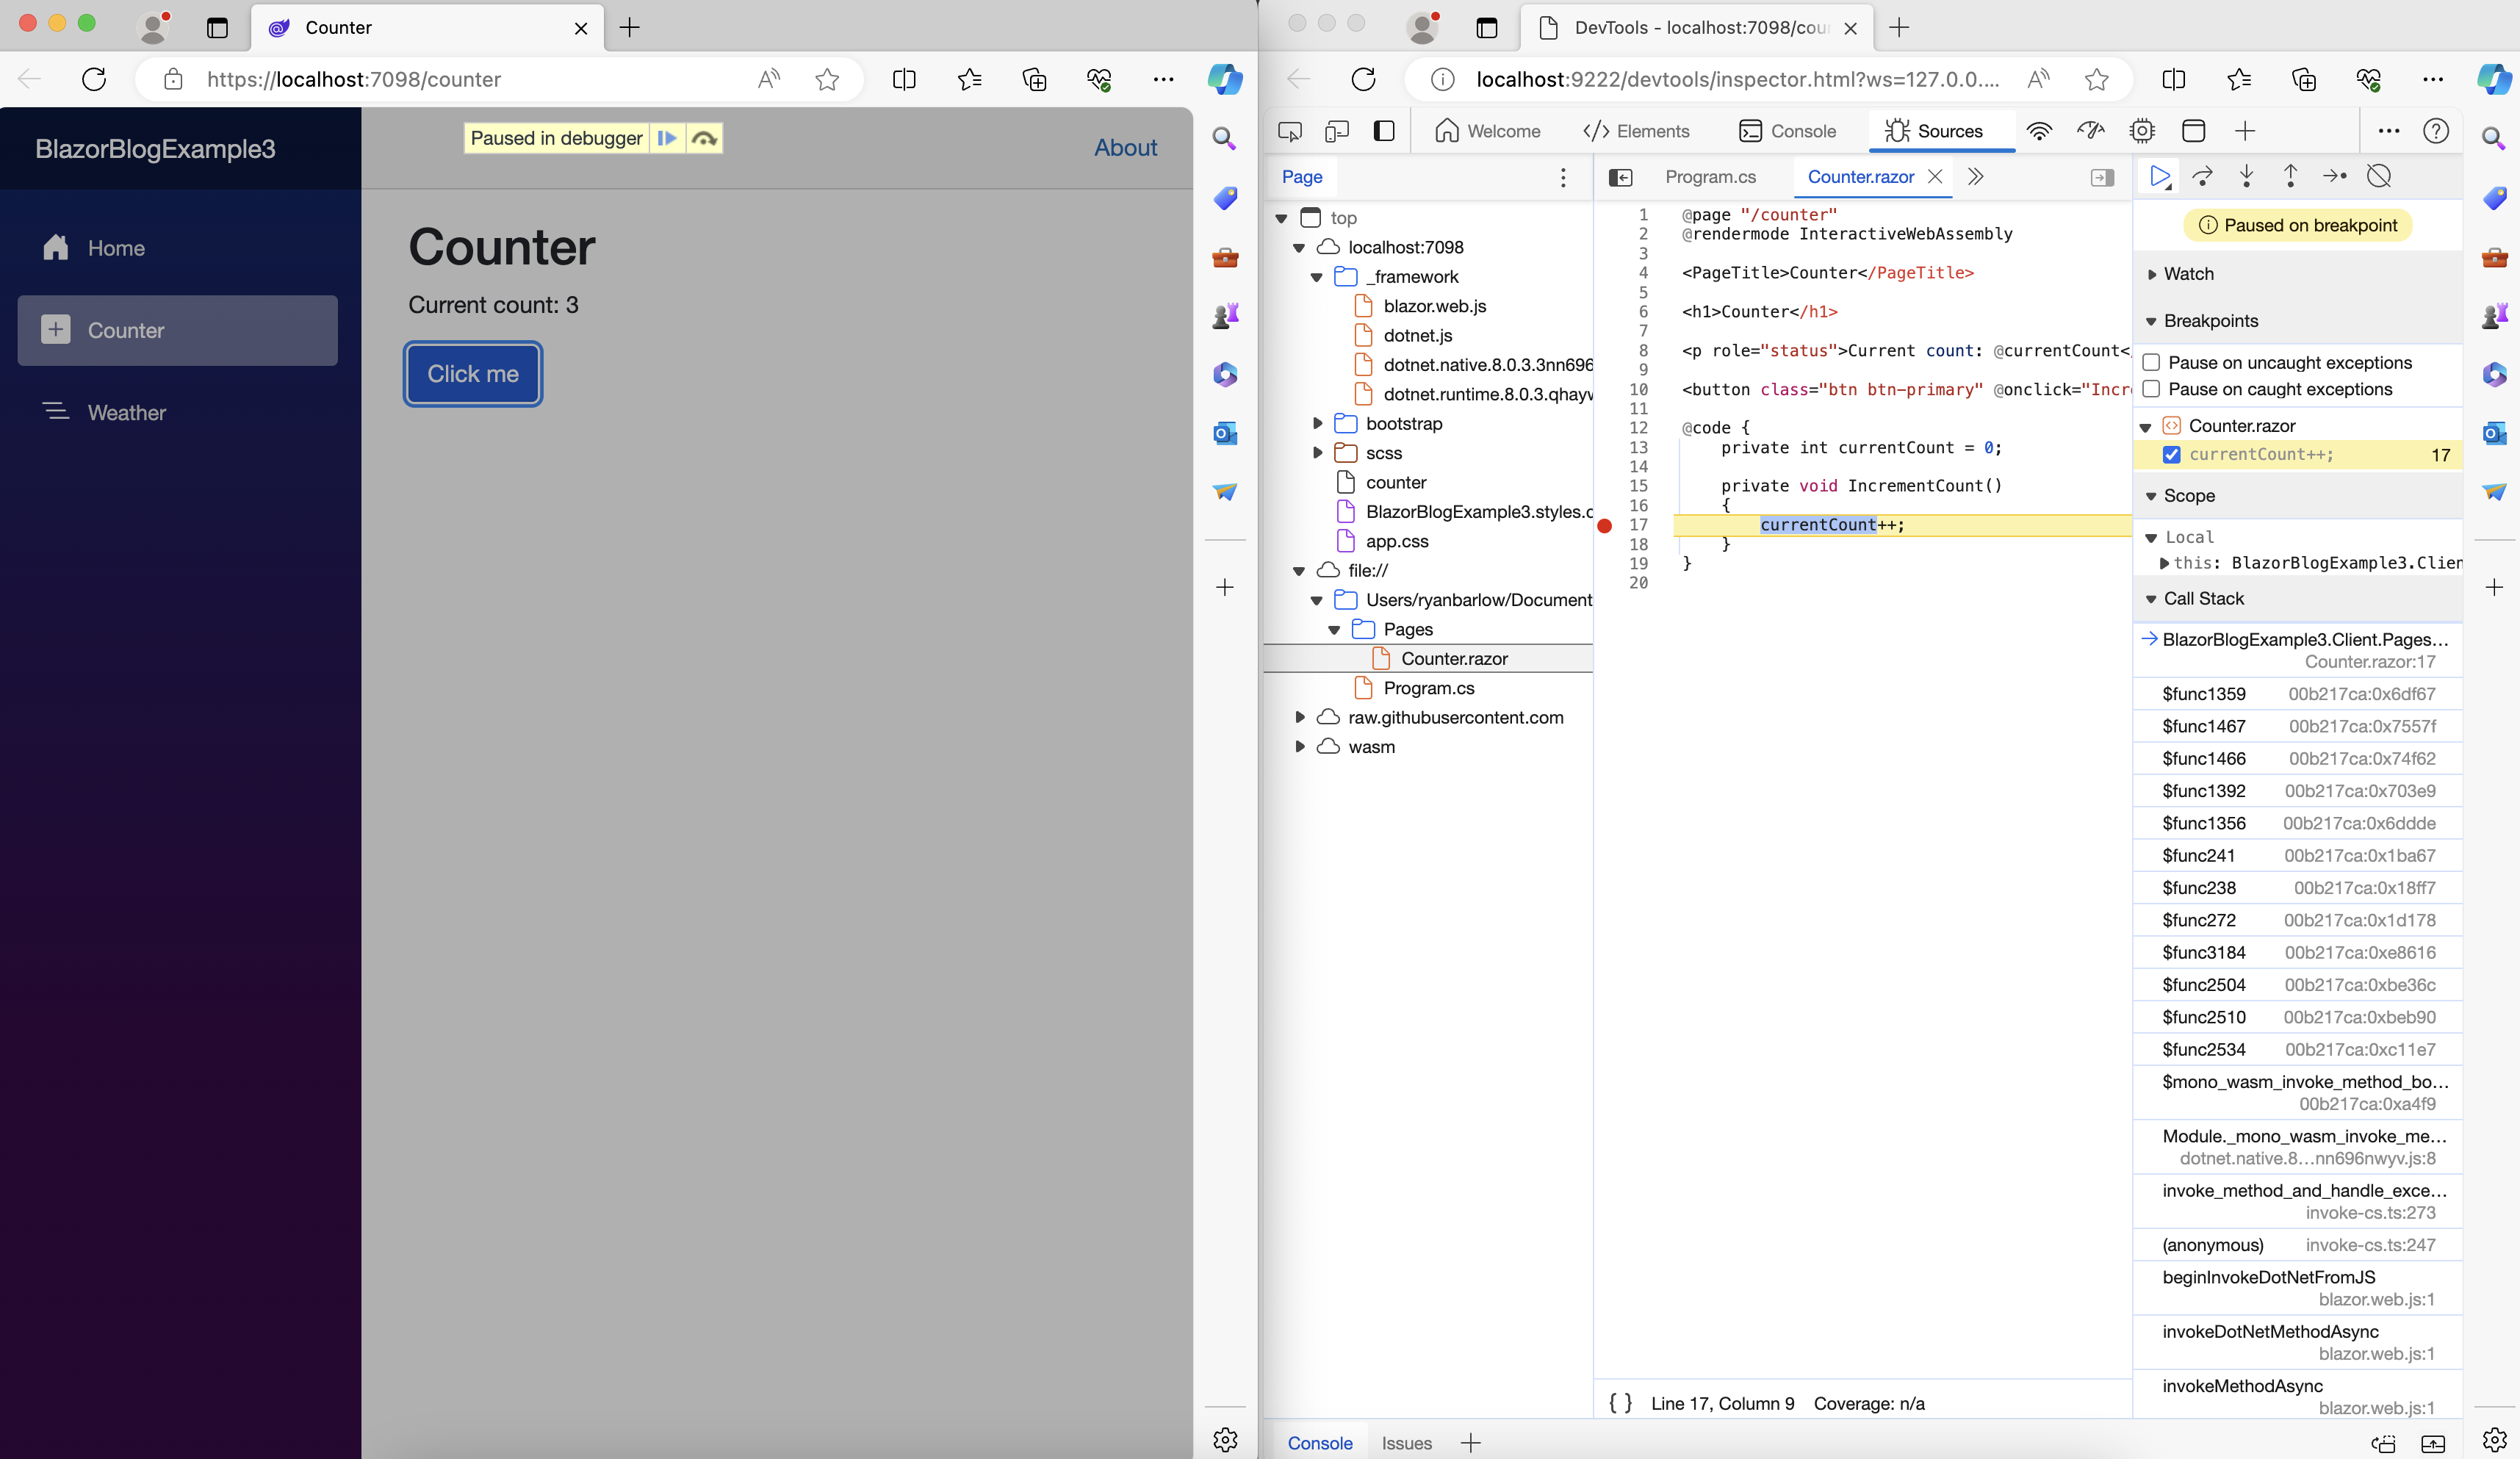
Press CMD + Shift + D in the browser window, to open the dev tools. If you get an error, follow the instructions on the page that opens (usually gives a terminal command to run, to open a new browser window with the correct permissions).
In the dev tools, open the Counter.razor file under files:/// and put a breakpoint on the currentCount++ line.
Click the 'Click me' button and your breakpoint should hit.
Stop running, go to Counter.razor in the IDE and change the 2nd line to the following;

Run the project as before and get the developer tools up. Setting a breakpoint and clicking the button should result in identical behaviour to before, as its still running client side WebAssembly.
Again, stop running, go to Counter.razor again in the IDE and change the 2nd line to the following;

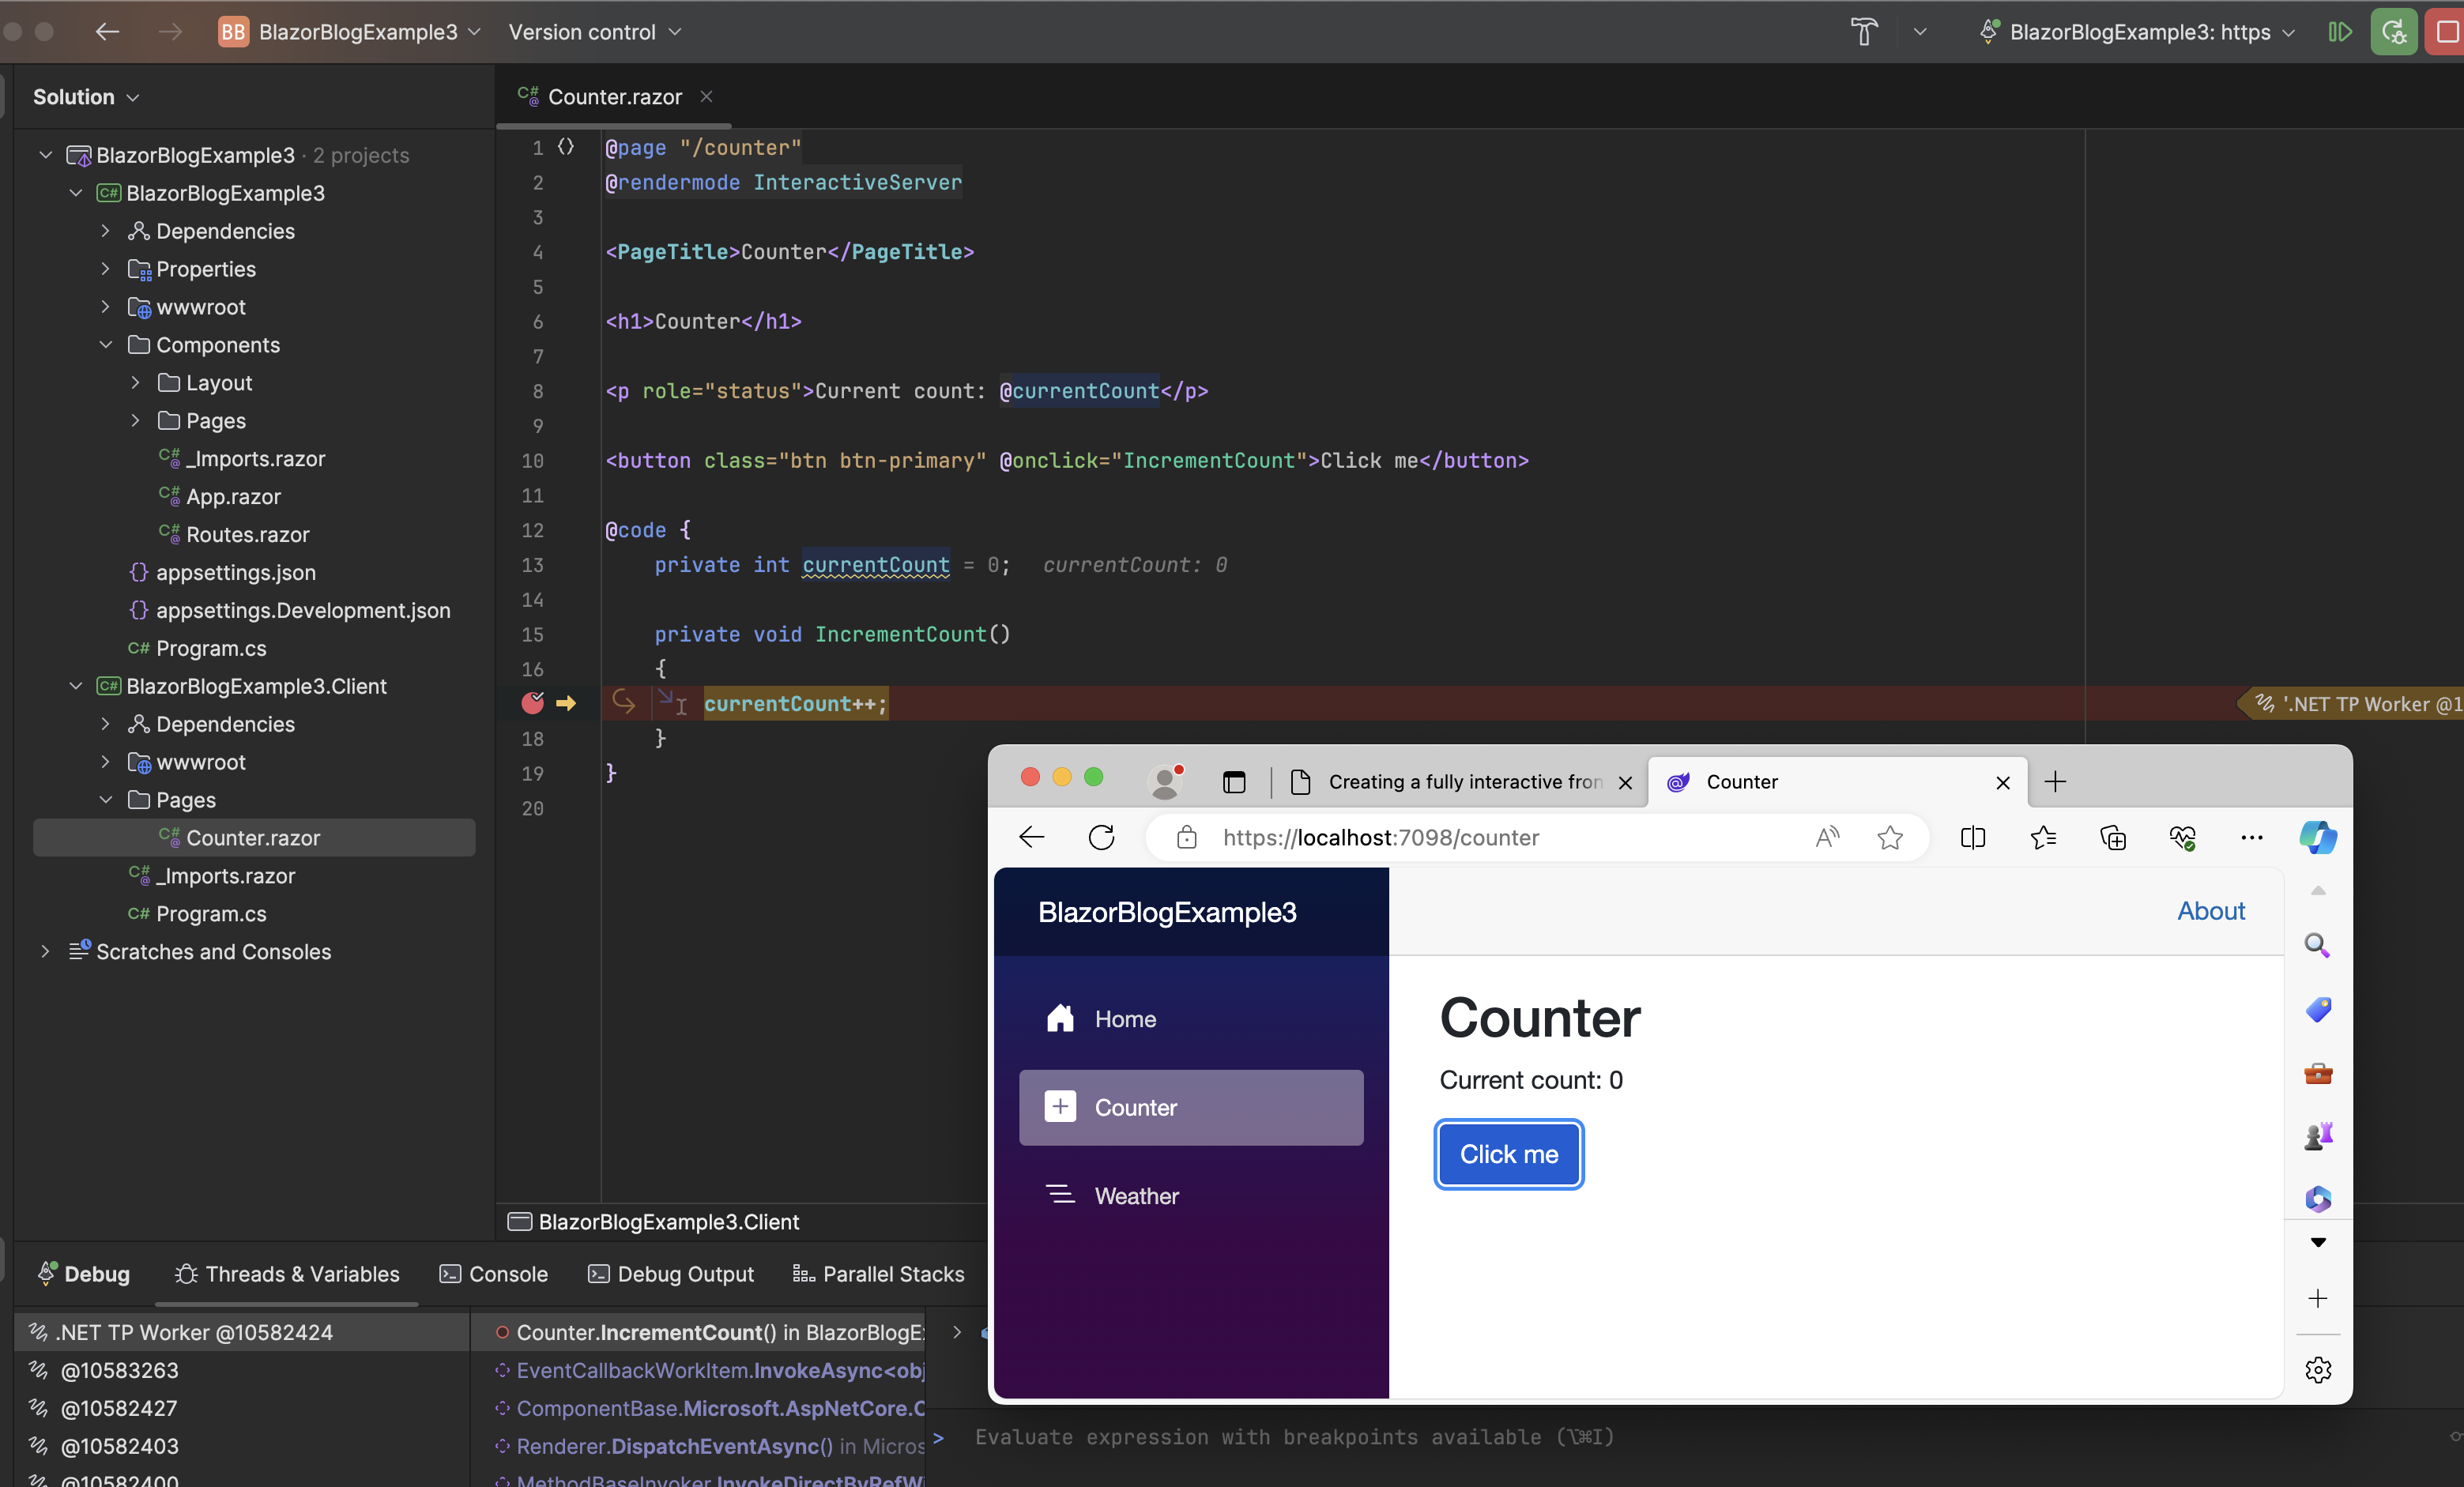
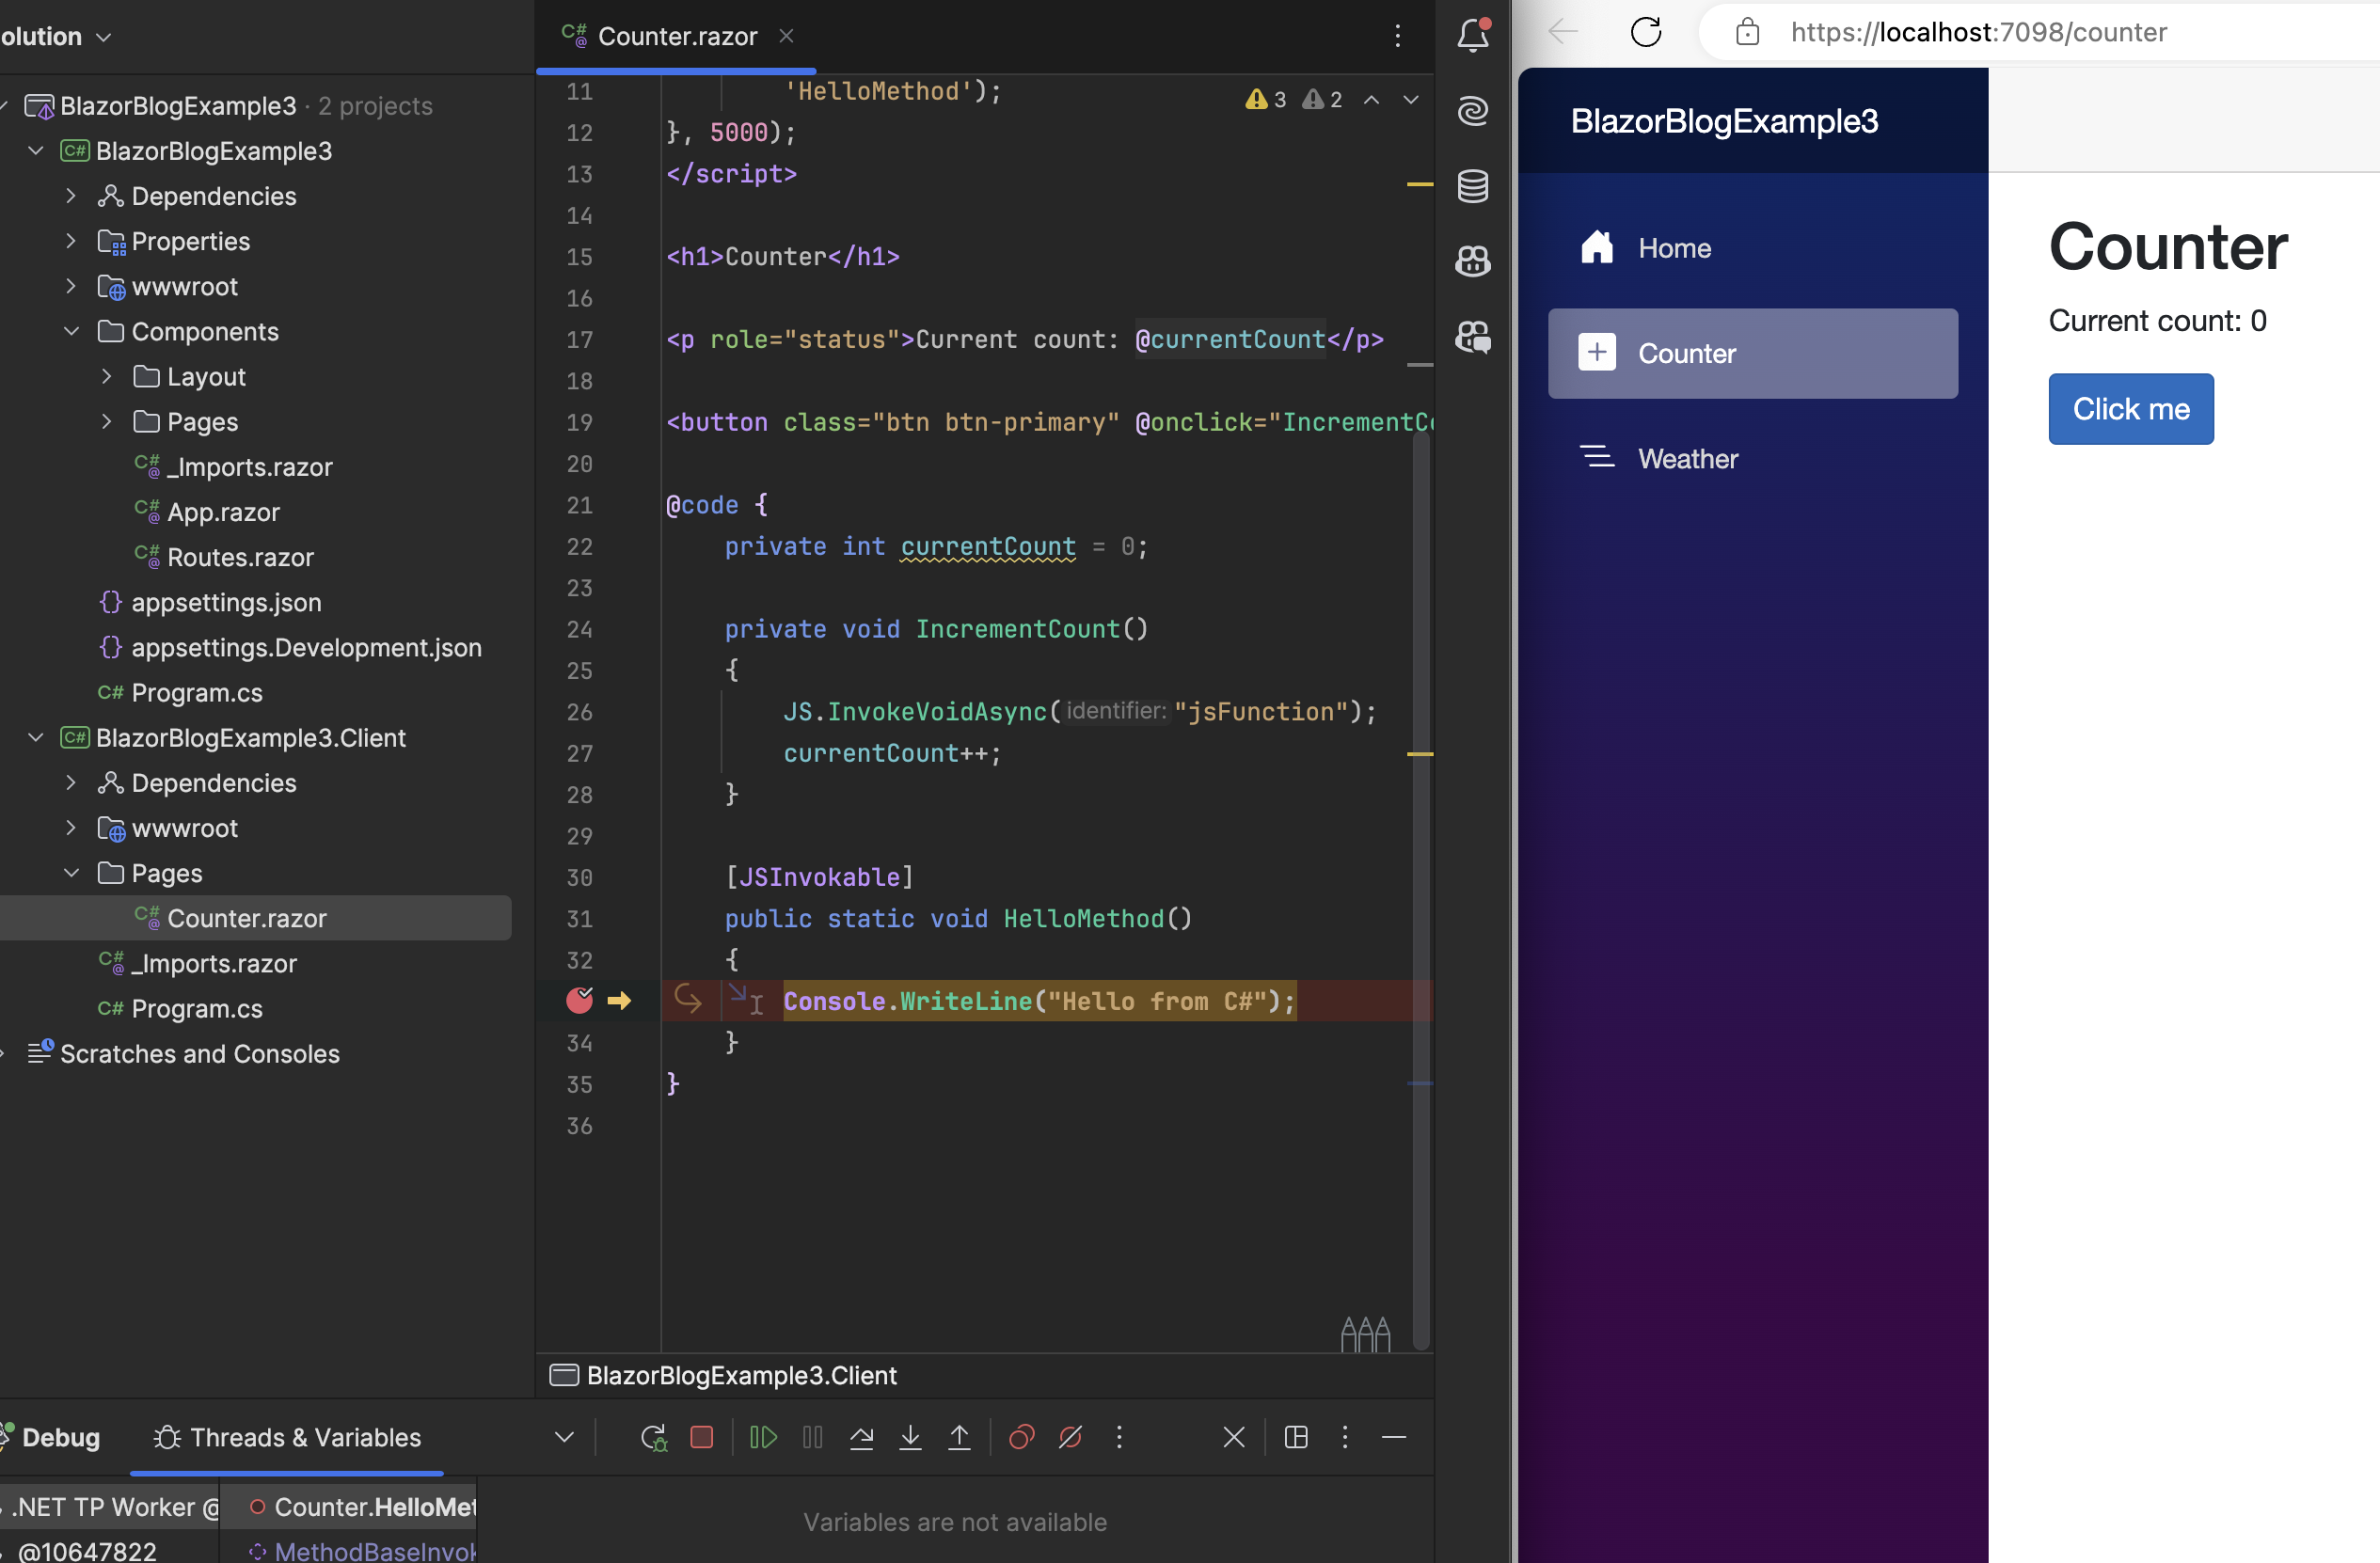
Start debugging in the IDE. Add a breakpoint inside the IncrementCount method in your IDE, as below;
Click the 'Click me' button and your breakpoint should hit.
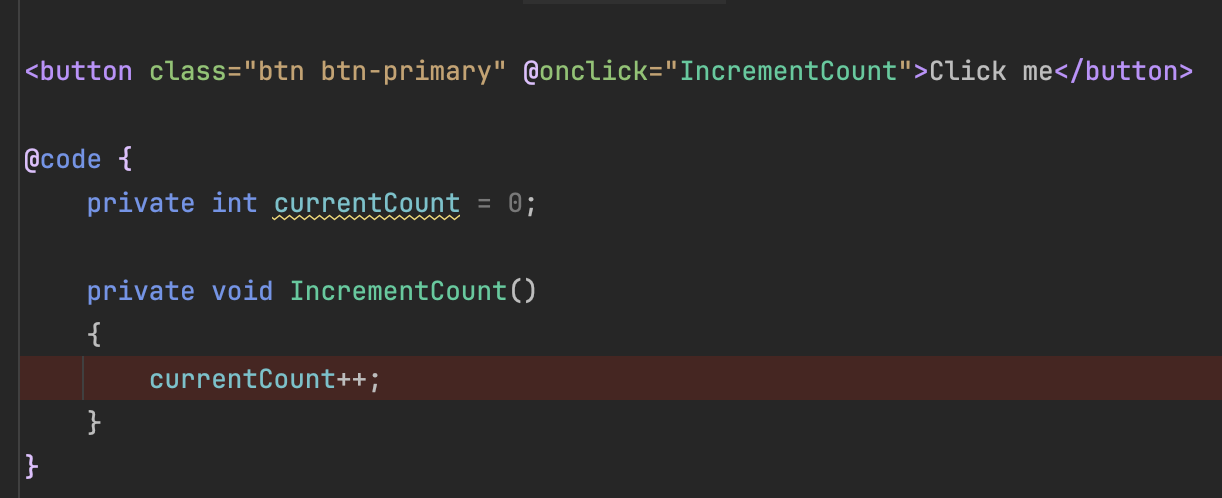
Go to counter.razor for a final time and remove the 2nd line. It should look like the below;
Add a breakpoint inside the IncrementCount method in your IDE and/or in the dev tools in the browser. Either way, it won't matter, as no breakpoint will be hit.
You will also notice that pressing the button does nothing. This is expected behaviour, as we have now disabled all interactivity.
Decided you want to use a bit of JavaScript? Good news - Blazor allows calling JS from your C# code, and vice versa.
Update the code to be like the below;
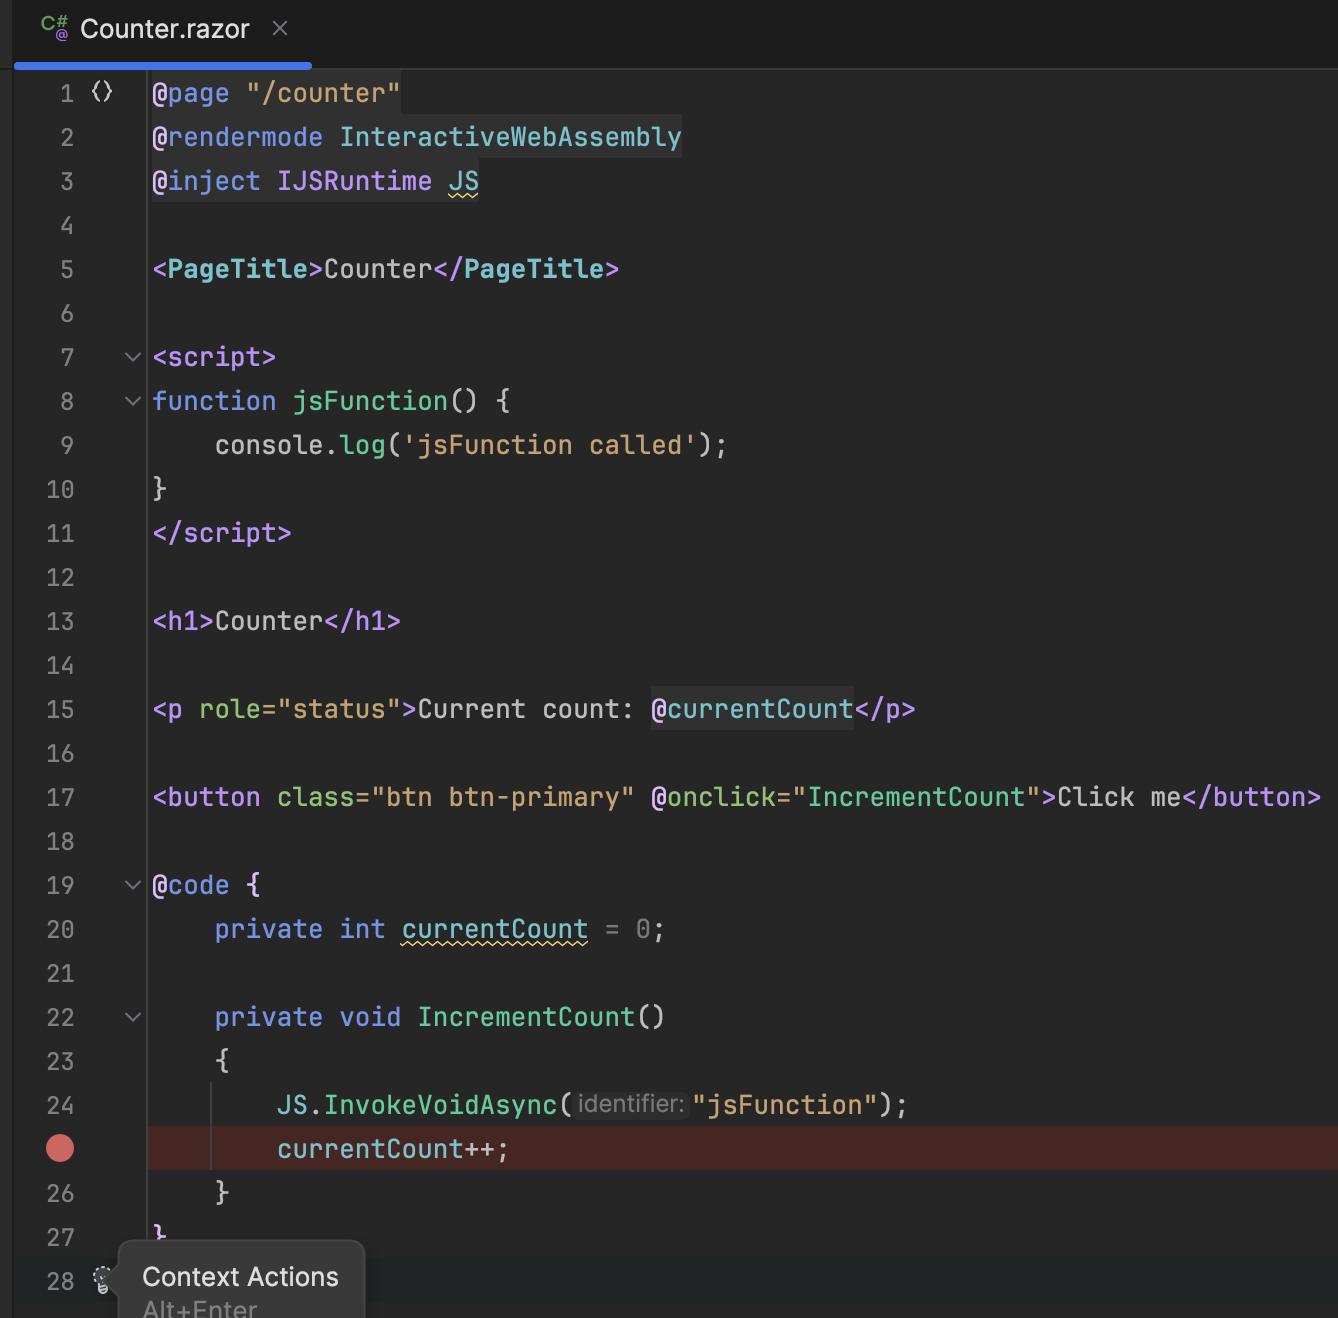
Run in the browser and see the following in the console when pressing 'Click me'.

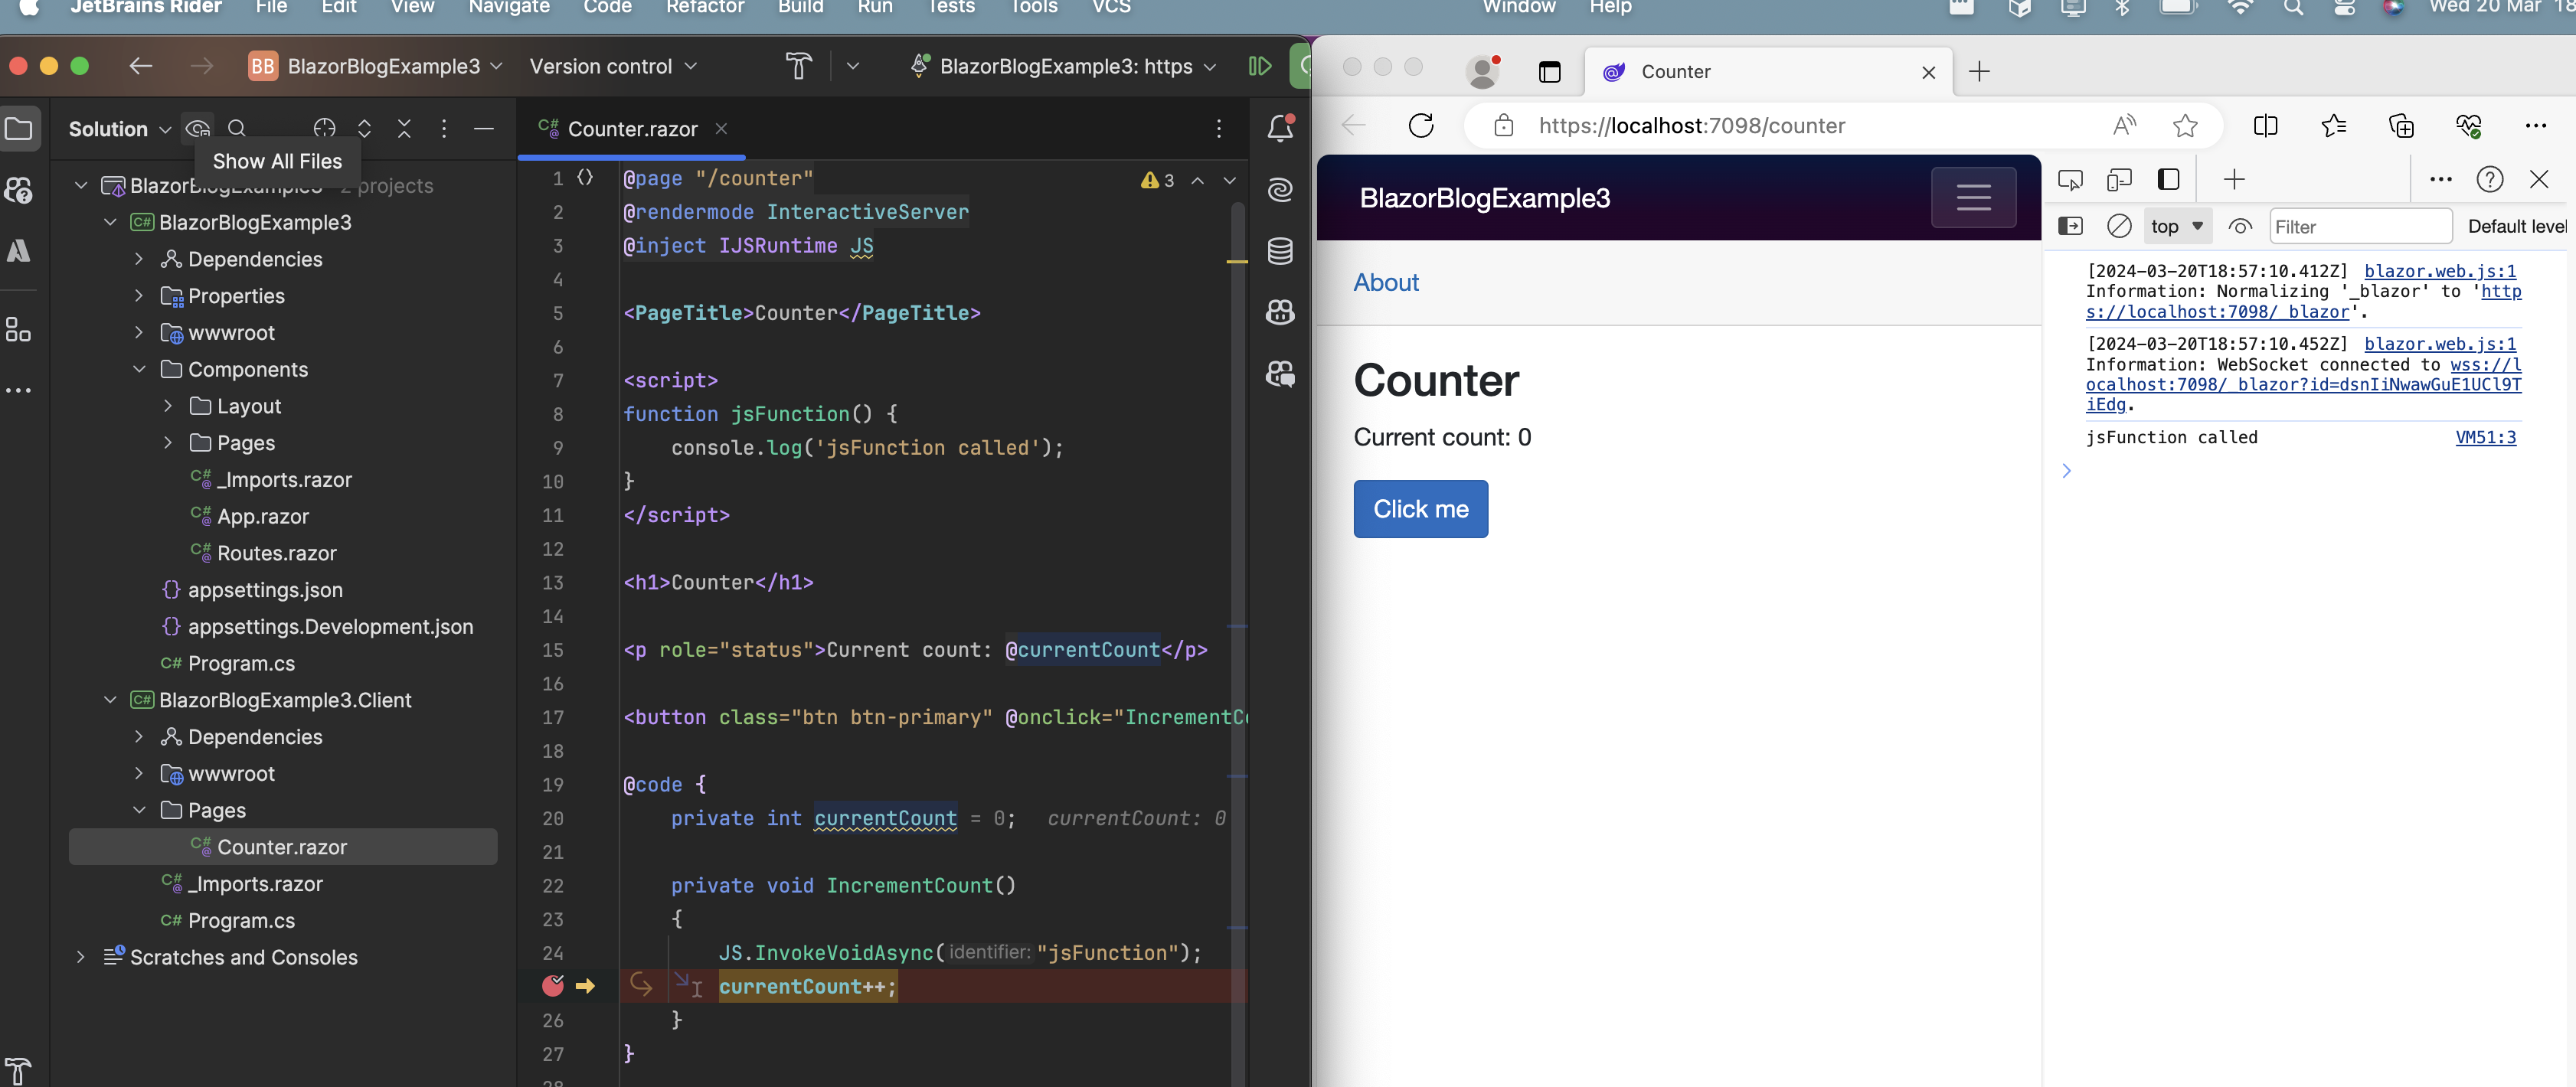
Interestingly - if you switch to InteractiveServer, it ends up in a hybrid state where JS will still run in the browser, but you can see methods are firing server side.
Observe on the screenshot JS logging to the console, while a breakpoint hits in the IDE;
Inversely, the C# code can also call JS. This can happen in either client or server modes.
Update the code to be like the following;
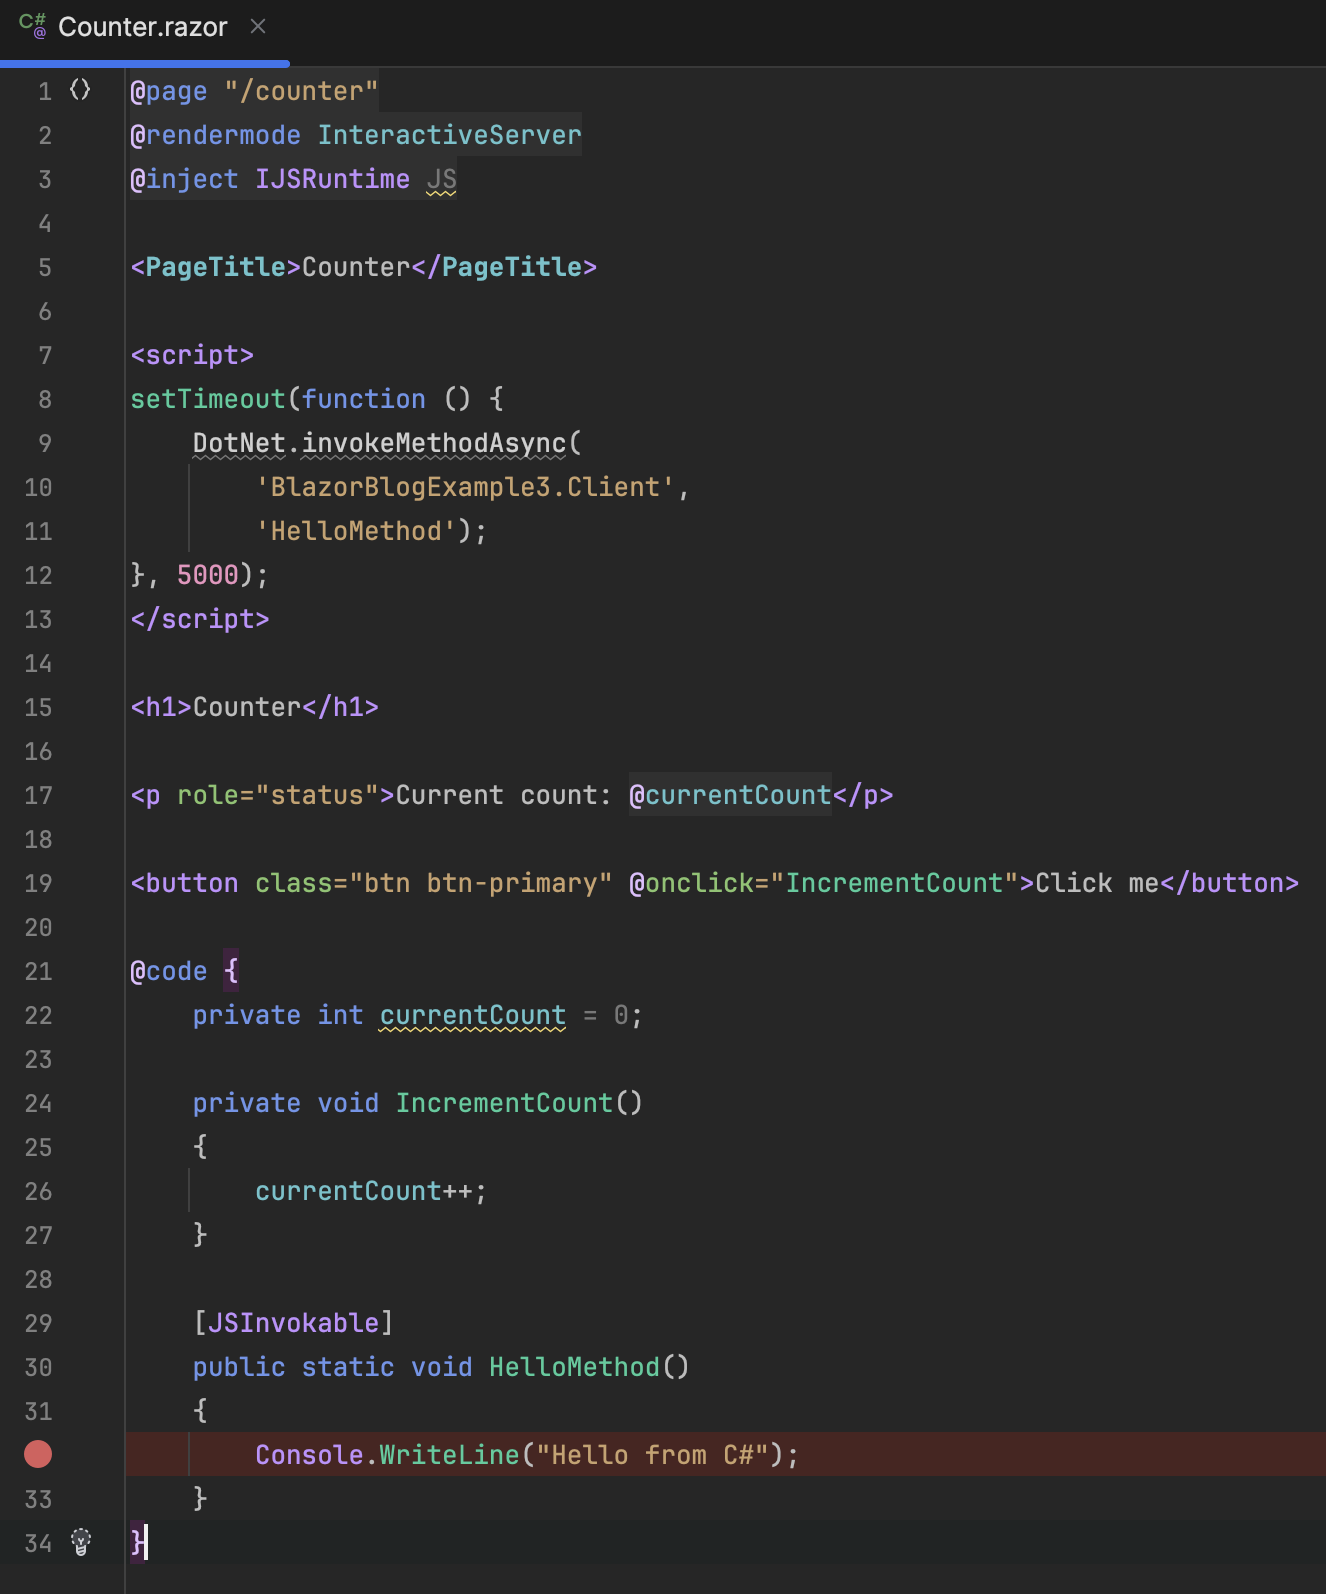
Set a breakpoint, debug this, wait 5 seconds when you get to the page, and you should see the breakpoint get hit.
Blazor can be used to make 'native' apps for mobile and desktop. The Blazor code runs in a WebView, similar to how Ionic / Capacitor / Cordova / PhoneGap work.
Alternatively, Blazor websites can be installed as PWAs.